Indulge in the comforting flavors of Ireland with this traditional dish, Irish Soda Bread. This inexpensive bread with a few basic ingredients and an Irish origin gained popularity in the nineteenth century due to its lack of complicated processes and the fact that it required just standard kitchen tools. If you’re looking for an easy way to make homemade bread, it’s a lifesaver for families like ours. No matter the season, this bread is always a favorite, but especially on St. Patrick’s Day, whether we’re celebrating our Irish roots or simply appreciating its humble simplicity. Impressive crust on the outside and rich and soft inside—the perfect vehicle for your favorite jam or butter—make this bread a must-try.
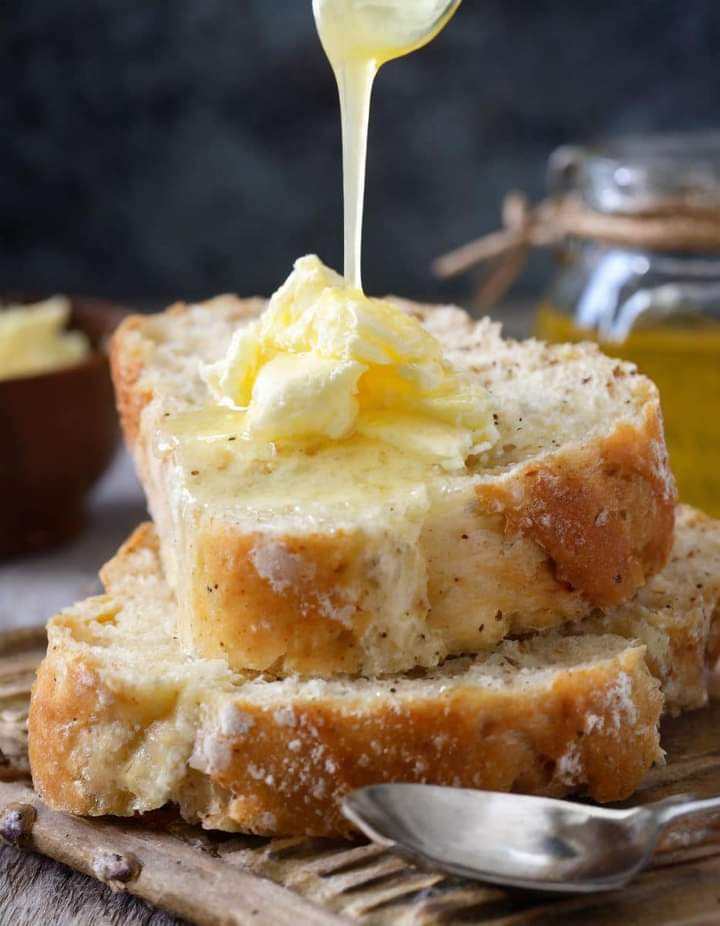
Sourcing up rich, savory flavors is a breeze with this multipurpose bread, and it goes especially well with a meaty stew. For a classic Irish dinner, try it with corned meat and cabbage. Or, for a sweet snack, try it with some honey or aged cheddar cheese. Also, a simple yet filling breakfast is toasted Irish soda bread with a little butter.
Four cups of all-purpose flour (plus additional for dusting), one teaspoon of baking soda, one teaspoon of salt, and one and three-quarter cups of buttermilk are the ingredients.
What to do:
For Ingredients
Start by getting your oven ready for 425°F, or 220°C. Use a little dusting of flour or parchment paper to coat a baking sheet.
Measure out and combine the flour, baking soda, and salt in a large mixing basin.
3. Add the buttermilk to the dry ingredients by creating a well in the middle. To make a soft dough that is neither too sticky nor too moist, combine the flour and buttermilk with a fork and whisk until just mixed.
Transfer the dough to a surface that has been lightly dusted with flour. Shape it into a circular loaf by giving it a little knead. The bread will turn up rough if you knead it for too long.
5. Once the baking sheet is ready, lay the dough on top. With a sharp knife, cut a deep X into the top, approximately an inch deep. The bread will cook more evenly this way.
6. After 30–40 minutes of preheating the oven, check that the bread is golden brown and hollow when tapped.
7 After taking the loaf out of the oven, set it on a wire rack to cool for ten minutes. After that, you may slice it. Warm serving is ideal.
Adaptations and Hints: -Combine the dry ingredients with a couple tablespoons of sugar for a touch more sweetness.
– A If you want to make your bread taste more like you, feel free to add raisins, dried cranberries, or caraway seeds.
– A Quickly swap 1 tablespoon of lemon juice or white vinegar with 1 3/4 cups of milk and let it settle for 5 minutes if you don’t have buttermilk on hand.
– A Toasted leftover bread tastes even better the following day, so make sure to preserve it in an airtight container.
– A The handcrafted quality and affection that goes into each mouthful are more important than whether or not the bread is flawless. Have fun, everyone!