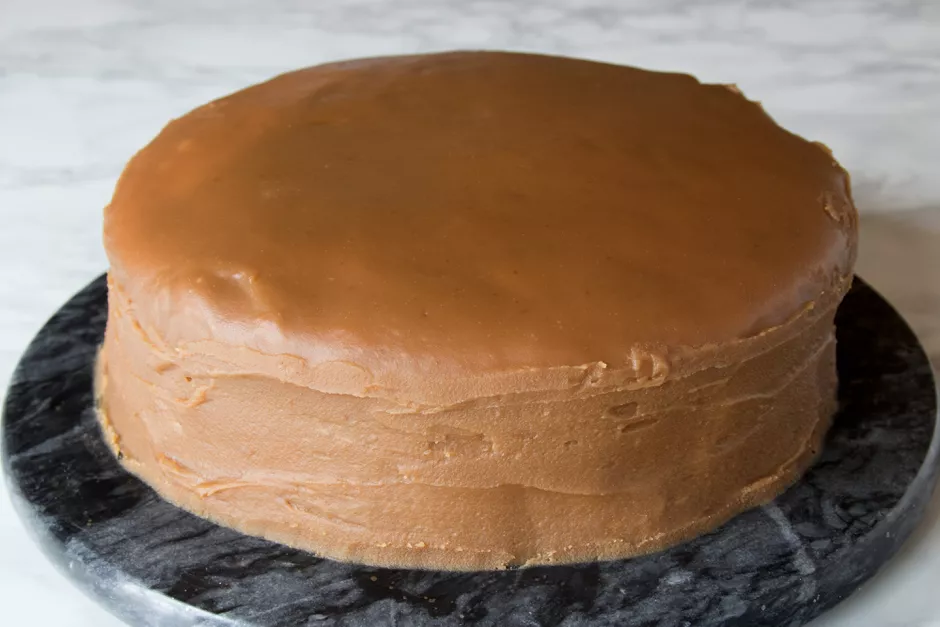
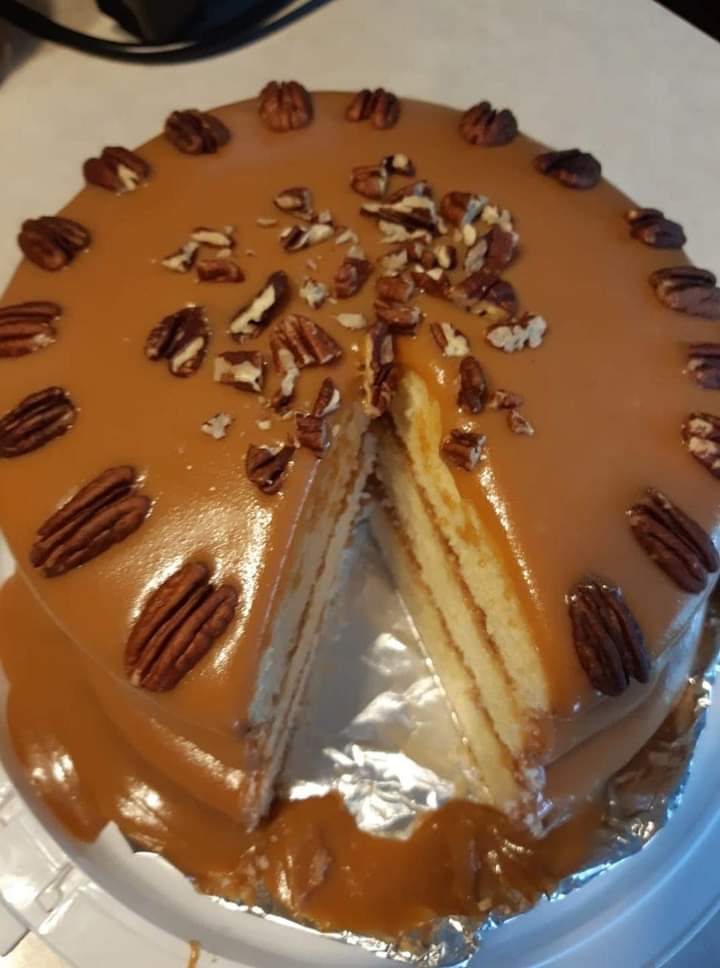
A Southern classic, caramel cake is made with layers of yellow cake and a mouthwatering caramel frosting. In this recipe, both elements include buttermilk for a wonderful tang that offsets the caramel’s sweetness. It’s a fun cake to make with deliciously irresistible results.
Inspired by New Orleans’ famous Doberge torte, which has an Old World European influence, the traditional Southern caramel cake can seem like a daunting task. This recipe is a little easier and designed to help bakers who want to advance their cake baking skills without too much of a challenge. Be sure to read through the recipe and tips and have everything ready because many steps require you to work swiftly.

The two-layer version is made in 9-inch cake pans, which many home cooks already own. If you have them, you can make the more traditional three-layer cake by splitting the batter between three 8-inch pans; reduce the baking time by about 10 minutes. The cakes are easy to prepare with all-purpose flour and other standard ingredients. If you prefer to use self-rising flour, use the same amount as the all-purpose flour and eliminate the baking powder and salt, which are included in self-rising flour.
The cooked caramel frosting is made similar to caramel candy; sugar is melted, combined with butter and milk, then cooked to a specific temperature. However, this recipe doesn’t take it to the actual candy stage. The cooler temperature makes it less stressful and offers a longer working time to decorate the cake.
A pure comfort food dessert, the Southern caramel cake is a fantastic treat for autumn and winter gatherings and celebrations. It’s also an excellent choice for early spring holidays like Easter, and you can make it a day or two in advance.
Ingredients
For the Cake:
- 3 cups (360 grams) all-purpose flour
- 1 1/2 tablespoons baking powder
- 3/4 teaspoon kosher salt
- 1 cup (226 grams) unsalted butter, softened and cubed
- 2 cups (396 grams) granulated sugar
- 4 large eggs
- 1 tablespoon pure vanilla extract
- 1 cup buttermilk
For the Frosting:
- 1 1/2 cups (360 grams) light brown sugar, firmly packed
- 1 1/2 cups (360 grams) dark brown sugar, firmly packed
- 1 cup (226 grams) unsalted butter, softened and cubed
- 1/2 cup buttermilk
- 1/2 cup heavy cream
- 1/4 teaspoon kosher salt
- 2 teaspoons pure vanilla extract
Steps to Make It
Make the Cake
- Gather the cake ingredients. Preheat the oven to 350 F and place the rack in the middle of the oven.
- Prepare two 9-inch round cake pans, lining the bottom with parchment paper. Do not grease the sides as this can prevent the cake from rising properly. If not using a springform pan, you can insert strips of parchment paper along the sides; lightly greasing the pan helps the paper stick.
- In a medium mixing bowl, sift the flour, baking powder, and salt. Set aside.
- Using a stand mixer at medium speed, beat the butter until creamy and a little airy, about 2 minutes.
- Slowly add the granulated sugar and cream for 5 to 6 minutes, scraping the sides as needed, until the mixture is light and fluffy.
- Beat in the vanilla extract, then add the flour blend and buttermilk alternating the two ingredients in increments, starting and ending with the flour. Mix until thoroughly combined but do not overmix.
- Immediately pour the batter into the prepared pans, dividing it equally in each and spreading the batter evenly.
- Bake in the preheated oven for 30 to 35 minutes, or until the top is lightly golden and a toothpick poked into the center comes out clean.
- Remove from the oven, and let the cakes cool for 10 minutes before carefully removing them from the pans.
Make the Frosting
- Gather the frosting ingredients.
- In a large saucepan over medium heat, combine all of the ingredients. Stir until the brown sugar is completely dissolved and bring it to a soft boil.
- Once the mixture foams and has bubbles around the edges, reduce the heat to low and continue to cook for 10 minutes, stirring regularly. If you have a candy thermometer, the caramel should not reach more than 220 F.
- Remove from the heat and let cool for 3 minutes, then beat the frosting until it begins to lose the glossiness and reaches a spreadable consistency. By hand with a whisk or spatula, this may take 10 minutes; in a stand mixer, it may only take 5 minutes.
Assemble the Cake
- While the frosting is still lukewarm and semi-fluid, begin frosting the cake. Start by pouring about a quarter of the frosting over the bottom cake layer (right-side-up) and spreading it out evenly.
- Add the top cake layer, pour about half of the remaining frosting on top, and spread it out evenly. Smooth out any drips that form on the sides.
- Begin with a light layer of frosting all the way around the cake to seal in the crumb, then build up the side with more frosting as it thickens. If you need to smooth it out or the frosting becomes sticky, dip the spatula into a bowl of hot water.
- Cover with a cake dome and let rest for 1 to 2 hours to allow the frosting to set completely before serving.
Tips
- BAKING This recipe is more of a butter cake than the traditional sponge cake, so it’s more forgiving. However, it can also deflate once pulled from the oven; over-mixing and under-baking are the main factors. To prevent that unwelcome surprise, make sure your oven has reached the proper temperature (an oven thermometer ensures accuracy) and mix just until the last round of flour is incorporated. Also, get the cakes in the oven right away, and bake a few minutes longer if there’s any sign of batter on the toothpick.
- COOLING Let the cakes cool completely (about 2 to 3 hours) on a wire rack before making the frosting.
- FROSTING As the frosting cools and solidifies, it will become easier to frost the sides of the cake. If transferred back to the warm saucepan, it will stay warm longer and is workable for 15 to 30 minutes, depending on how fast it cools. Work quickly but also let it cool a little more if it’s still too runny.
- ASSEMBLING Frosting the cake can get a bit messy. Build the cake on a cardboard cake board and place strips of parchment or wax paper under the edges to catch any drips. To make it easier, use a pedestal surface that you can turn as you work.
