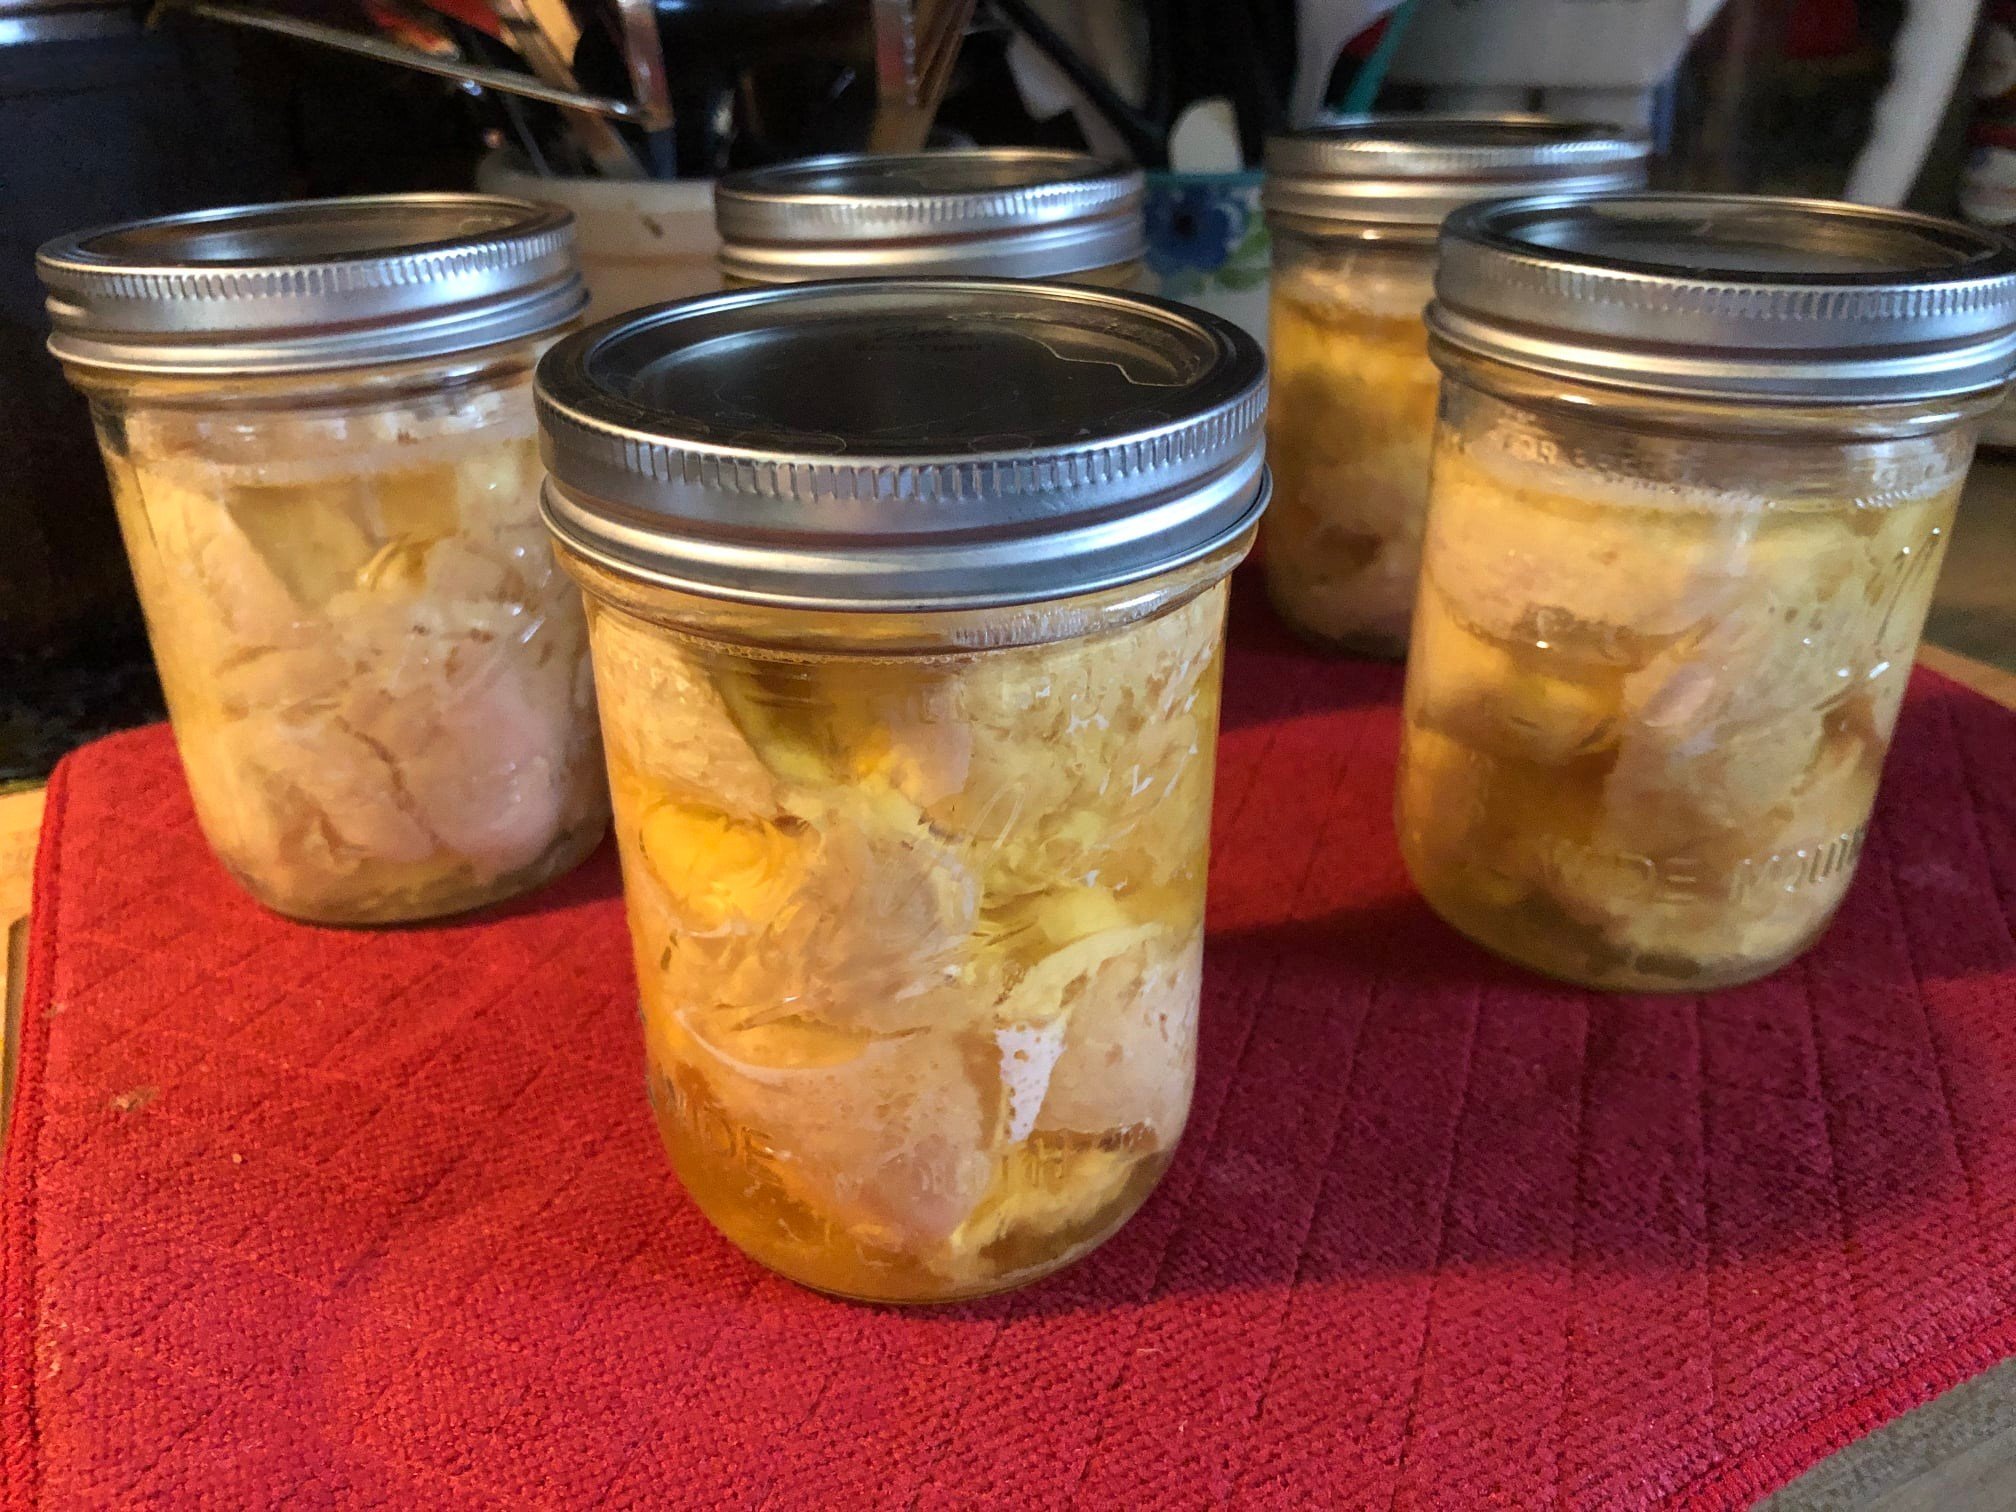
This may not be a beautiful picture like the jams and jellies etc… but to me it’s beautiful because it is shelf stable meat in my pantry that is already cooked and ready for an emergency or just a quick meal!!
I remember when I first learned you could can meat… it was a great big AHA moment!! We’ve found we really like canned chicken!! It makes the best chicken salad, chicken soup, chicken tacos, chicken casseroles, chicken enchiladas, anything you would use yummy chicken in…. this can’t be breaded and fried as it is too tender and falls apart but any kind of dishes like the ones I mentioned are perfect for canned chicken!
Canning chicken is very easy. The first rule is – You Must can it in a pressure canner.
Here’s my process for canning chicken:
Ingredients:
Chicken
Canning salt
No need to add liquid as the chicken makes its own liquid as it is canned.
Directions:
For pint jars put 1/2 teaspoon of canning salt in the jar, for quart jars put 1 teaspoon of canning salt in the jar.
Do not heat the jars in advance for raw packing chicken.
Fill the jar with chicken leaving 1 inch headspace – you can cut the chicken in whatever size you want. Do not put any liquid in the jar. The chicken makes its own liquid when it’s processing.
Wipe the rim with a paper towel that has a bit of vinegar on it and place your warm lid on and then the band… tighten band finger tight.
Put the jars in the pressure canner – with the water at room temperature
put the lid on
when steam starts to come from the vent – let it vent for 10 minutes and then add your weight – 10 pounds pressure for my altitude.
When your canner reaches the proper pressure begin timing. For pint jars process for 75 minutes and for quart jars process for 90 minutes.
Turn the heat off when your time is up, and allow your canner to come to zero pressure on its own.
When the pressure is at zero you can remove the weight and carefully take off the lid, opening away from you to avoid getting a face full of hot steam.
Using your canning tongs remove the jars and put them on a clean towel on your counter. They will probably still be bubbling away.
In a little while you’ll begin to hear the ‘ping’ letting you know your jars are sealed.
Leave them undisturbed overnight.
Remove the bands and wipe down your jars with a wet rag.
Don’t forget to label your jars with the date and what is in them.
Now you have delicious chicken ready for a quick meal or an emergency situation!!
Enjoy!!
