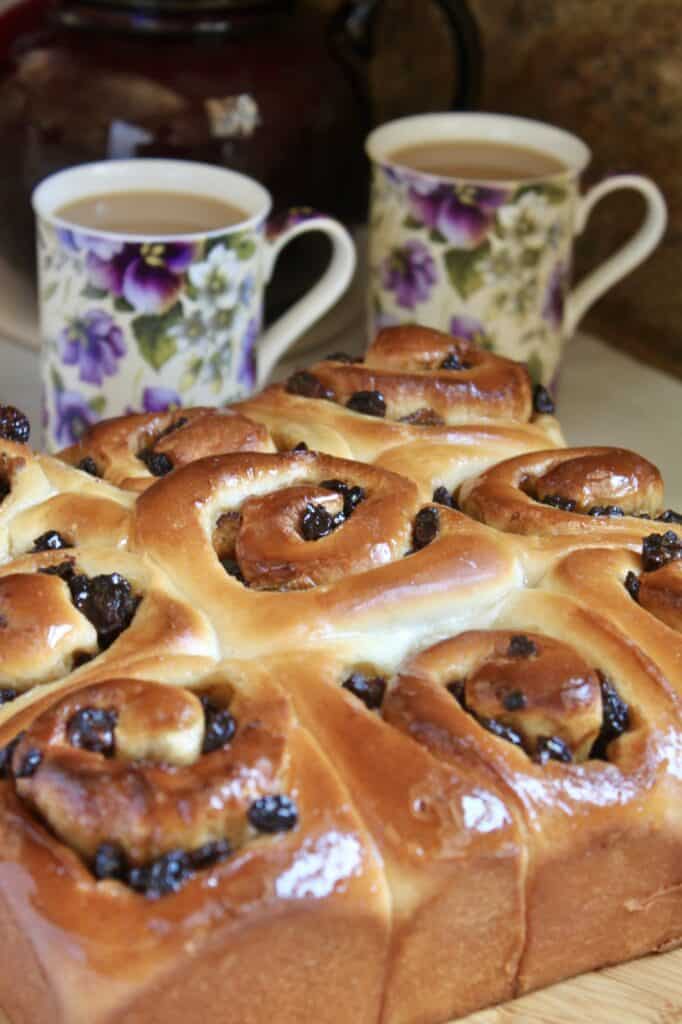
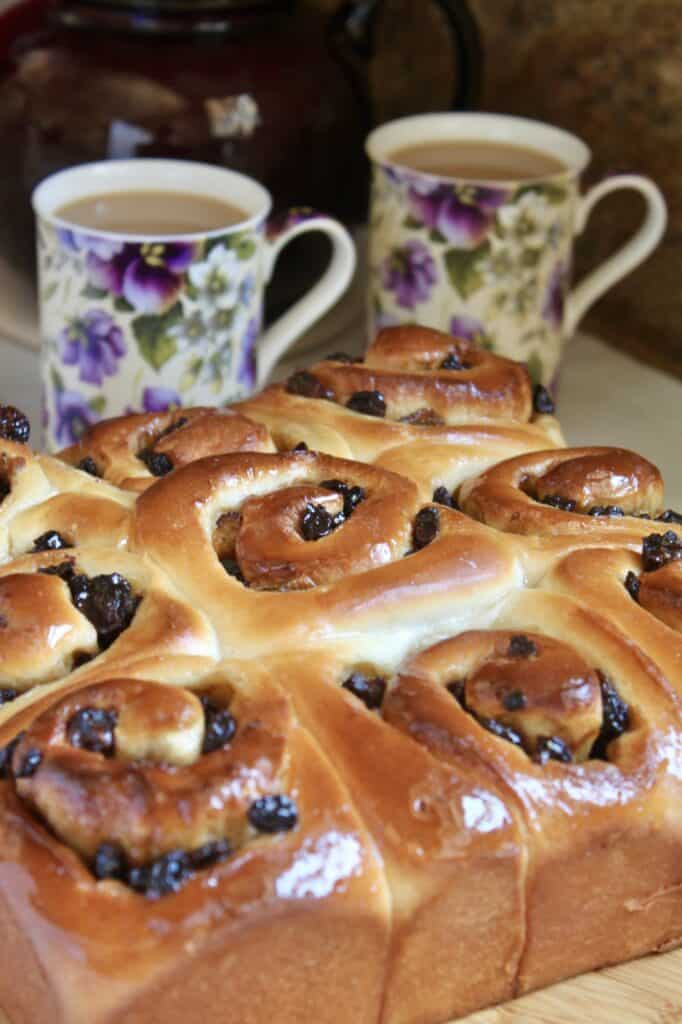
Chelsea buns are soft, spiced rolls with butter, raisins, and currants rolled into the middle, then brushed with a sweet and sticky glaze. They’re incredibly delicious, especially with a cup of tea!
If you’re into British baking, you’re going to absolutely love this Chelsea buns recipe.
As an Amazon Associate, I earn from qualifying purchases.
It’s especially easy to make if you use a bread machine or a stand mixer, but making it by hand doesn’t require a ton of work, either.
Is a Chelsea bun the same as a cinnamon roll?

No, Chelsea buns and cinnamon rolls are not the same, don’t let anyone mislead you. While they are similar, these are all the differences between a Chelsea bun and a cinnamon roll.
Ingredients
Dough
- 8 oz (225 ml) milk (buttermilk can be used)
- 1 beaten egg
- 4.5 cups (500 g) bread or all-purpose flour
- 1/2 tsp salt
- 5 Tbsp sugar
- 2 oz (50 g) good quality butter, softened
- 1 tsp dry yeast (rapid-rise or normal)
Filling
- 1 oz (25 g) melted butter
- 1/2 c (100 g) golden raisins (Sultanas)
- 1/2 c (100 g) raisins
- 1/4 c (50 g) Zante currants
- 2 Tbsp soft, light brown sugar
- 1 tsp mixed spice
Glaze
- 1/4 cup (50 g) sugar
- 4 Tbsp water
Instructions
Oven temperature 400ºF (200ºC)
Make the Dough
Please choose the directions below depending on if you want to use a bread machine, stand mixer, or make the dough by hand.
– In a Bread Machine
- Put the milk and egg into the bread machine container, then add the flour, salt, sugar and butter.
- Make a well on top and place the yeast in it. Set the machine for the “dough” cycle.
- When finished allow rising to be double the size of the dough when it finished the cycle. Skip to the Make the Filling step below.
– In a Stand Mixer
- Add the yeast to the milk, and let stand for a few minutes. Stir in the egg.
- Put the flour, salt, sugar and butter in the mixing bowl, then add the liquid. Using a dough hook, turn on the mixer until a smooth dough is formed.
- Cover and allow to double in size (at room temperature, or in a barely warm oven). Skip to the Make the Filling step below.
– By Hand
- Follow the directions for the Stand Mixer above, but mix all the ingredients together using a Danish dough whisk or spatula, until it forms a sticky dough.
- Place onto floured board or counter, and knead until a smooth dough is formed.
- Put into a floured bowl, cover, and allow to rise at room temperature or in a slightly warm oven until doubled in size.
Make the Filling
- While the dough is rising, all of the ingredients for the filling, except for the butter, into a medium-sized bowl.
- Stir to combine.
Roll Out the Dough and Fill the Chelsea Buns
- Knead the dough gently, then roll out into a 12″ by 18″ rectangle. Brush with the melted butter.
- Sprinkle the filling evenly over the buttered dough.
- Start rolling up the dough from the longest end.
- When the entire dough is rolled, put the seam side down and cut into 9 equal slices with a sharp knife.
- Place each slice into a 9″ (23 cm) greased, square baking pan.
Proof and Bake the Buns
- Don’t let the buns overproof or they won’t turn out well. In the pan, they will look like this when they are ready to bake.
- Gently place into the middle of a preheated oven and bake for about 15 to 20 minutes or until golden brown and well risen.
Make the Glaze
- After you remove the pan from the oven, make the glaze.
- Simmer the sugar and water for about 2 minutes. If you simmer it longer, it will be too sticky.
Glaze the Chelsea Buns and Serve
- While the buns are still hot, glaze generously with a pastry brush while still in the pan. Allow to cool until just warm.
- Turn out onto a board, and serve.
Notes
Don’t overproof the dough either time or the buns won’t taste or look as they should. Keep an eye on that dough 🙂
